KitchenAid Standing mixer attachment Ice Cream bowl has a new model (5KSMICM)!
Read what kind of tips and tricks Eva Pärtel from Perenaise Pagariäri has for it!
How to make ice cream with Kitchen Aid
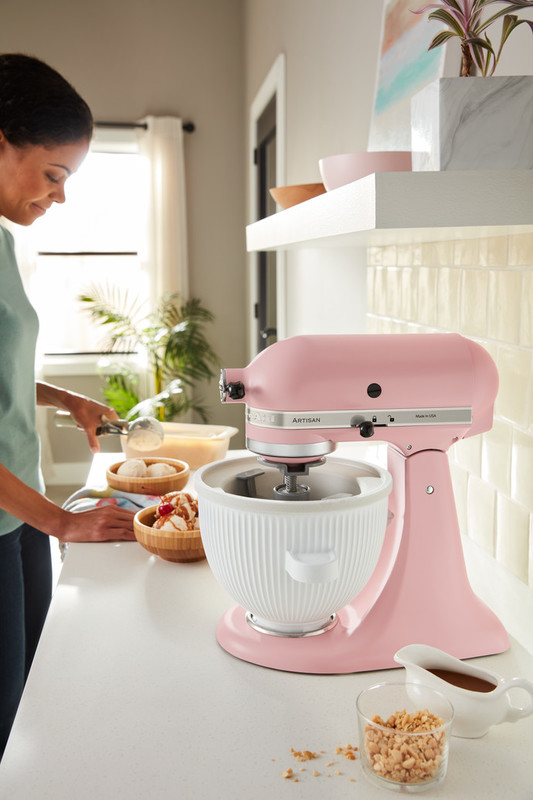
If you are considering the purchase of an ice cream machine and you already have a Kitchen Aid stand mixer at home, a good solution is the ice cream-making bowl sold as an accessory by Kitchen Aid.
Kitchen Aid has two sets of ice cream bowls - one older version and one newer one. Both consist of a pre-freezing bowl (volume of both 1.9 liters), a blade, and an attachment. The main difference between the models is in the convenience of attaching the mixer - the new model has a much more convenient attachment and blade, and it is easier to mix the ice cream. With an older model, attaching it can be a bit fiddly at first (it's worth watching the relevant tutorial videos on Youtube). The new model also has a more elongated blade, which results in slightly fluffier ice cream. In appearance, the new bowl is striped on top, and the older version is classic smooth; both are nice and white. The price difference is in favor of the older model.

The ice cream-making bowl feels reliable when you pick it up because it is heavy, robust, and has a simple design, similar to Kitchen Aid's own stand mixer. When buying an ice cream bowl, take into account the space required for the freezer because the ice cream bowl must be pre-frozen, and it must be in the freezer for 16 hours before mixing the ice cream in order to accumulate cold inside its walls.
How to make ice cream?
- Put the ice cream bowl in the freezer at least 16 hours before mixing the ice cream.
- Start making the ice cream mix on the same day, as it needs to chill in the fridge, ideally for 12 hours, before adding it to the ice cream maker.
- On the day of mixing the ice cream, take the ice cream mixture from the fridge, and mix it.
- Take the ice cream bowl from the freezer and attach it to the stand mixer with the blade and the attachment. Start the mixer (on the lowest speed).
- Pour the ice cream into the ice cream bowl. The edge of the bowl partially comes into contact with the ice cream mixture because the blades are already rotating.
- The ice cream is ready in about 15-20 minutes.
- Stop the mixer, and remove the bowl. Take out the blade, and scrape it clean of the ice cream. Remove the ice cream from the bowl with the help of a silicone spatula or a wooden spoon (the metal can scratch the inside of the bowl). Put it in a freezer container, close it with a lid, and put it in the freezer for at least 5 hours. You can also eat the ice cream right away, but it will be too soft immediately after mixing the ice cream.
- Homemade ice cream can get too hard if left in the freezer for more than 5 hours, so take it out to room temperature about 15 minutes before eating.

Good to know:
If the ice cream bowl has not been in the freezer long enough (at least 16 hours), you may not get ice cream with good consistency. Because the walls of the bowl have not accumulated enough cold, the ice cream may remain too soft, and ice crystals may form inside the ice cream when it is frozen.
If the ice cream mixture has cooled in the refrigerator for too little time, the ice cream mixture may freeze too tight to the bowl (the temperature difference is too large). To prevent this, keep the ice cream mixture in the refrigerator for 12 hours.
Homemade ice cream is made from pure raw materials and free of emulsifiers, which are used in store-bought ice creams to make ice cream as soft and airy as possible. Homemade ice cream is successful if enough eggs, fattier dairy products (cream, cream cheese), and vegan ice cream, fatty coconut cream, bananas are used in the recipe. You can make homemade ice cream a little less sweet than store-bought ice cream, but a sufficient amount of sugar is necessary for a good texture. Note that the ice cream mixture must taste a little too sweet: it doesn't taste as sweet when it's frozen.
Mixing the ice cream in the bowl is cleaner if you can add the ice cream mixture to the bowl before starting the machine. However, the manufacturer does not recommend doing this because the ice cream mixture may freeze to the edges of the bowl because it may take too long to start the ice cream bowl. However, if you make ice cream often and the attachment is quick, you can pour the ice cream mixture into the bowl first and then attach it to the machine and start the machine. You have to practice for this because if the ice cream mixture is already stuck to the edges of the bowl, the blades cannot rotate around, and you have to start over.
Ice cream recipes
Recipes and photos: Eva Pärtel

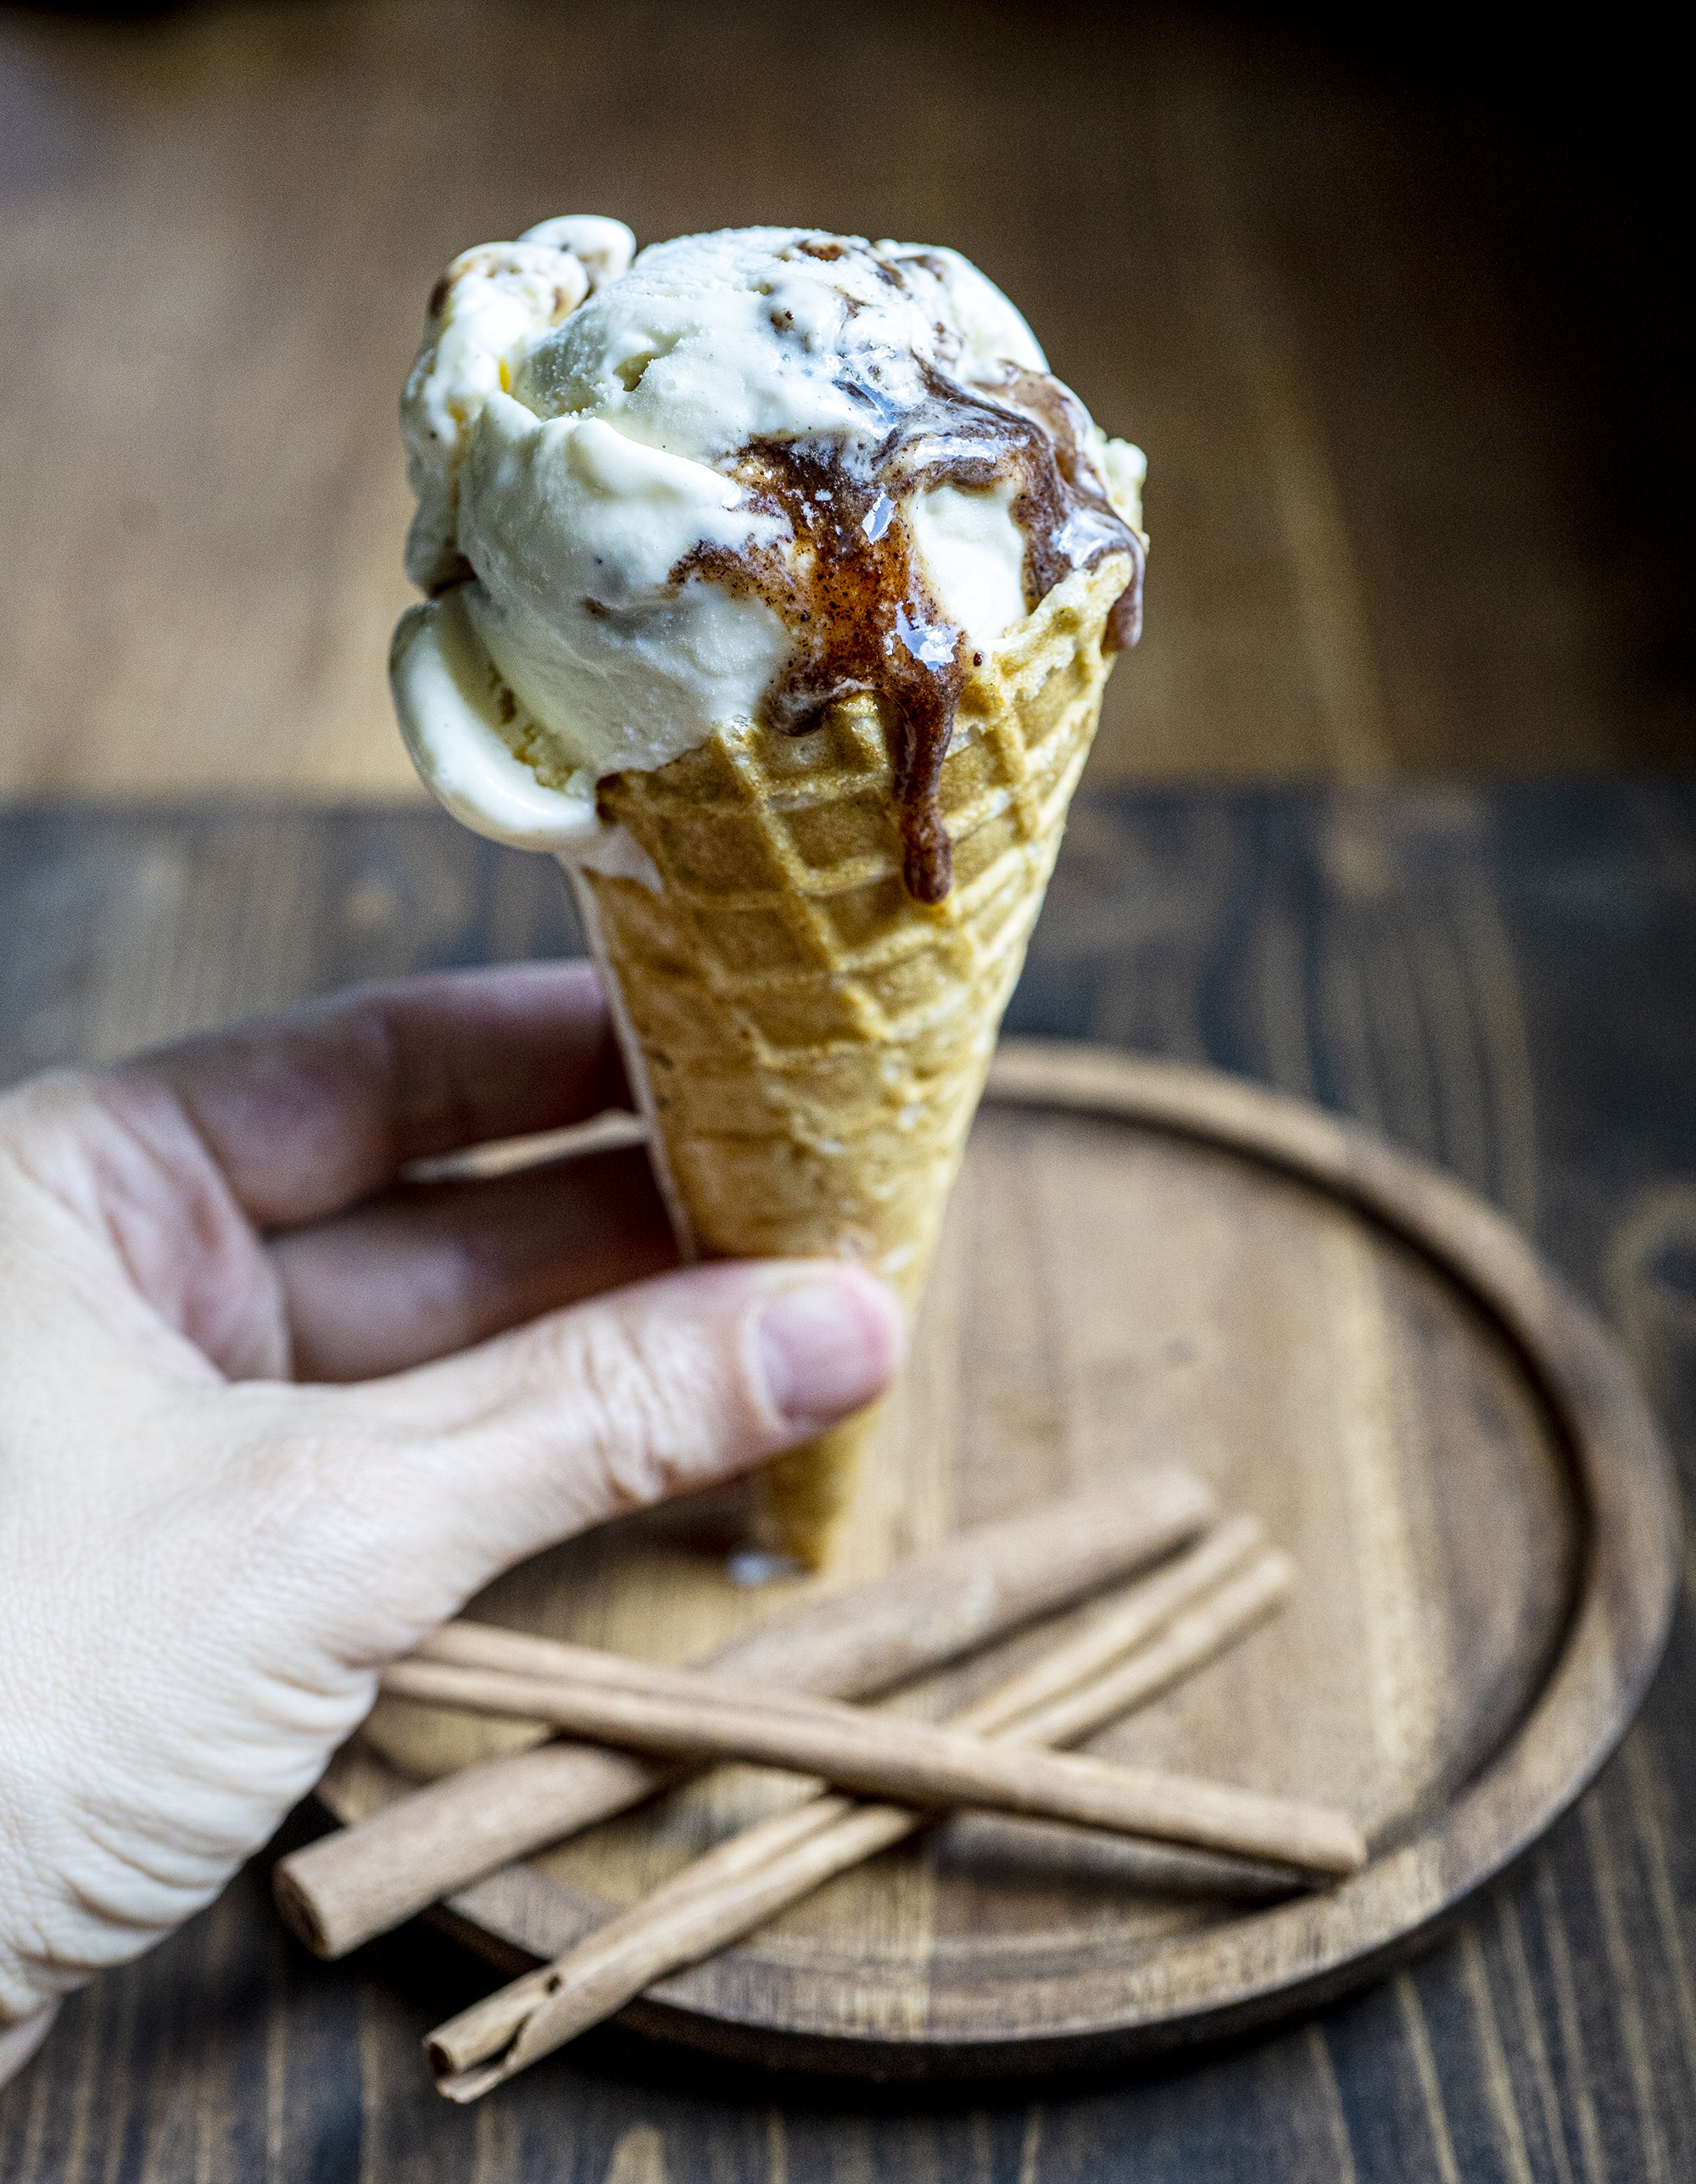
Cinnamon roll ice cream
Refreshing ice cream that tastes homely thanks to the added cinnamon reminiscent of the taste of cinnamon rolls. This ice cream is suitable for eating both in summer and in cooler weather.
Ice cream mix:
6 egg yolks
100 g of sugar
350 ml of milk
¾ tsp cardamom powder
300 ml of whipped cream
Cinnamon sauce:
50 g of cane sugar
25 ml of water
2 g (approx. 1 tsp) of cinnamon
8 g of butter
- The day before mixing the ice cream (at least 16 hours before mixing the ice cream) place the ice cream bowl in the freezer.
- Put the egg yolks in a bowl and mix with sugar.
- Bring the milk and cardamom to a boil in a pot. Remove from the heat and drizzle into the egg yolks, stirring the yolks with the other hand.
- Pour the mixture back into the pot and heat over medium heat to 82 degrees. If you don't have a food thermometer, this heat has been reached when the mixture begins to thicken slightly at the bottom.
- Remove from heat, and pour through a sieve. Stir in the whipped cream (unwhipped). Cover with plastic wrap and refrigerate for 10-12 hours.
- The next morning, prepare the cinnamon sauce. Put all the ingredients in a pot and bring to a boil. Cook on medium heat for 3 minutes. Remove from the heat and stir in the butter. Cool to room temperature.
- Take the ice cream mixture from the fridge, and mix it. Take the ice cream bowl from the freezer, and attach it to the mixer with the blade and attachment. Start the mixer and pour in the ice cream mixture. When the ice cream mixture is ready, transfer it to a flat container suitable for the freezer.
Drizzle with cinnamon sauce and mix it sloppily into the ice cream so it will be streaky.
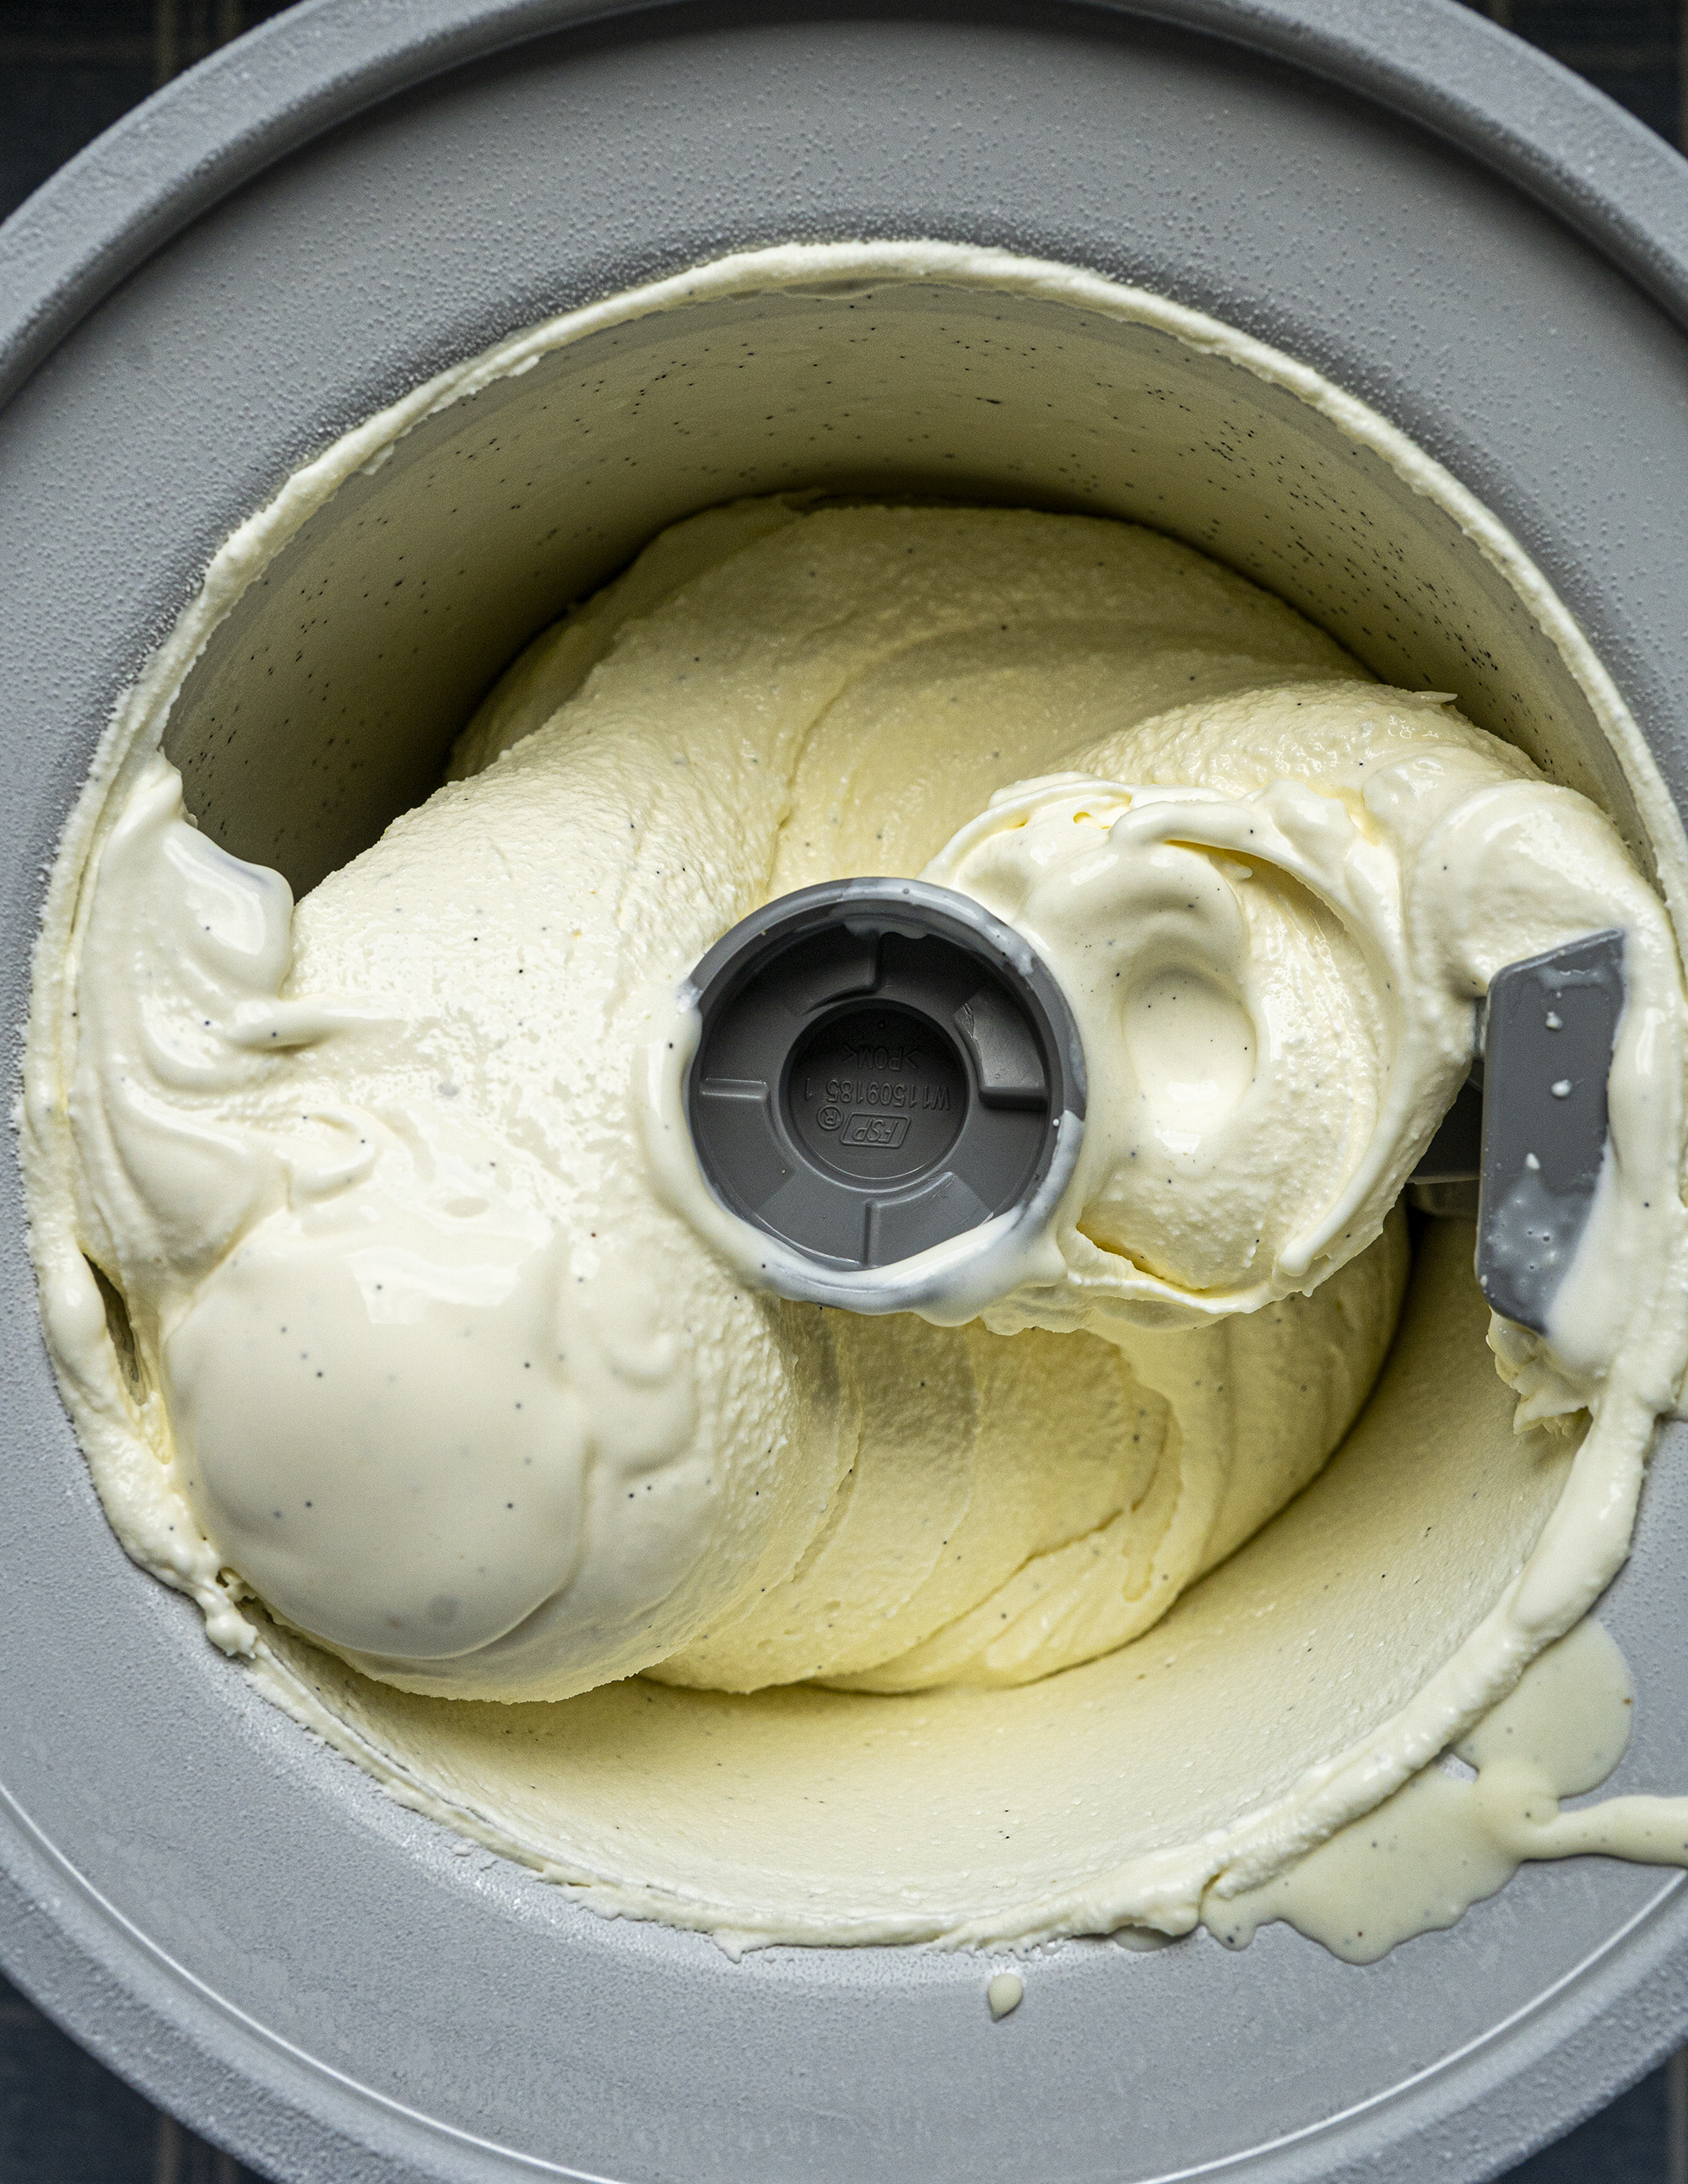
A picture with a caption to be attached here:
This is what the vanilla ice cream looks like right after mixing.
- Place in the freezer. The ice cream is best if it has been in the freezer for about 5 hours. If the ice cream stays longer in the freezer, bring it to room temperature for 15 minutes before serving.

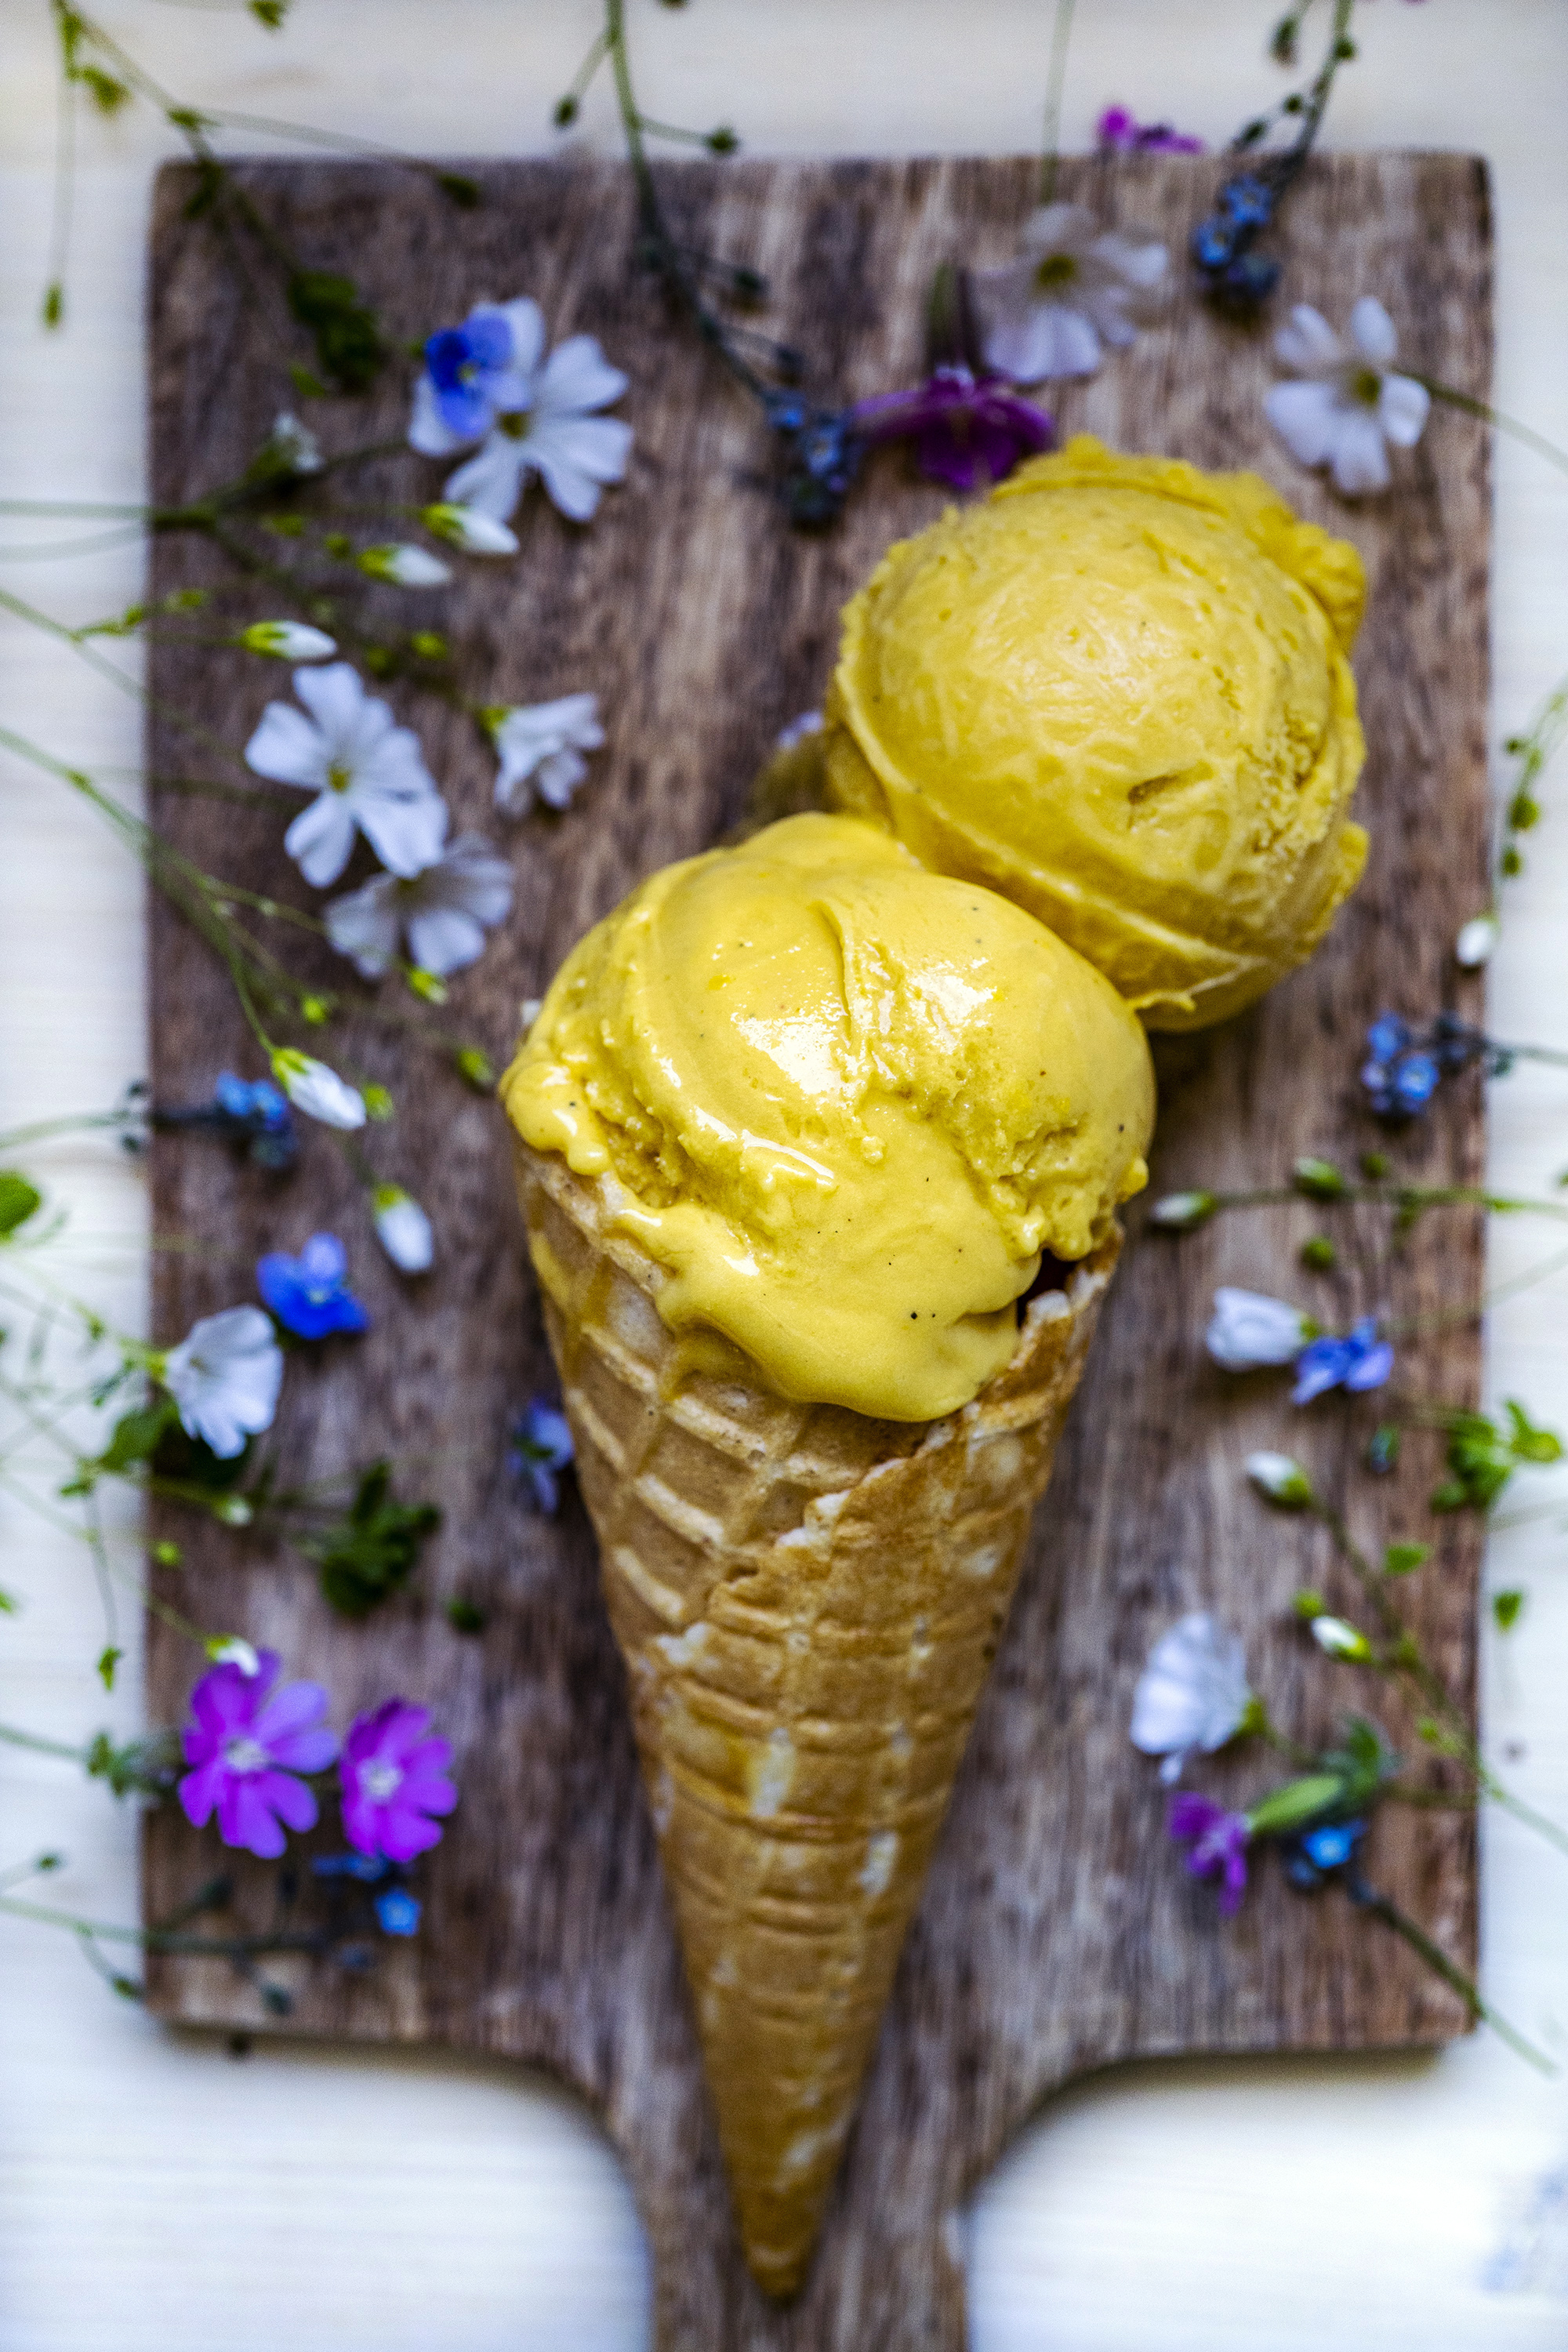
Mango ice cream
Ice cream with a strong mango flavor, which is less sweet and pleasantly tart and sour creamy. If you want to bring out the mango flavor, even more, add ¼ teaspoon of cardamom and a pinch of saffron to the ingredients.
Ice cream mix:
500 ml of mango puree
200 g of sour cream
200 g of cream cheese
120 g of sugar
- The day before mixing the ice cream (at least 16 hours before mixing the ice cream) place the ice cream bowl in the freezer.
- Put all the ingredients in a blender and process the mixture until smooth. Refrigerate for at least 12 hours.
- Take the ice cream mixture from the fridge, and mix it. Take the ice cream bowl from the freezer, and attach it to the mixer with the blade and attachment. Start the mixer and pour in the ice cream mixture. When the ice cream mixture is ready, pour it into a container suitable for the freezer.
- Place in the freezer. The ice cream is best if it has been in the freezer for about 5 hours. If the ice cream stays longer in the freezer, bring it to room temperature for 15 minutes before serving.
 ET
ET
 LV
LV
 LT
LT
 EN
EN
 FI
FI
 RU
RU
 DE
DE
