KitchenAid blenderite tootepere tutvustus
KitchenAid blender – iga köögi kangelane
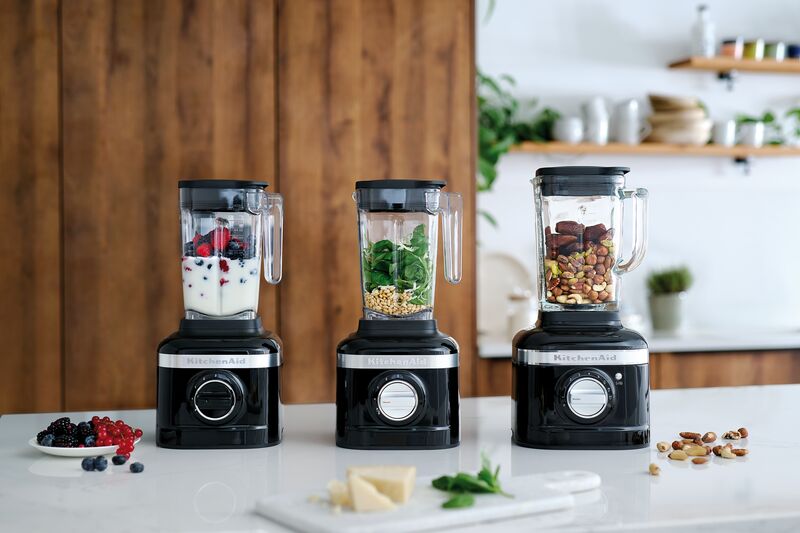
Tänapäeval ei ole blender enam pelgalt smuutimasin. See on mitmekülgne köögiseade, millega saab valmistada püreesuppe, kastmeid, pähklikreeme, pestosid, jääpurustatud jooke, smuutisid ja palju muud. KitchenAid blenderid on loodud nii igapäevaseks koduseks kasutamiseks kui ka nõudlikumateks köögitöödeks.
Blender või saumikser – millal kumb valida?
Blender sobib kõige paremini siledate ja ühtlaste masside valmistamiseks. Tänu kannule ja võimsale mootorile on see ideaalne suuremate koguste jaoks ning tuleb hästi toime ka jää ja kõvemate koostisosadega.
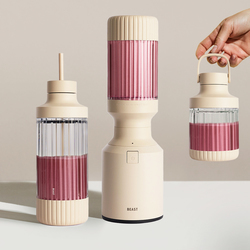
Saumikser on praktiline lahendus otse potis segamiseks ning väiksemate koguste puhul. See on kompaktne ja kiire, kuid ei asenda täielikult blenderit, kui soovid täiesti ühtlast tekstuuri või töötled suuremaid koguseid.
Kui valmistad sageli smuutisid, püreesuppe ja kastmeid, on blender selgelt parem valik. Saumikser täiendab blenderit, kuid ei asenda seda. Saumikseri l eiad komplektna samuti meie e-poest ja erinevas värvivalikus. Täpsustama peab, et kuigi KitchenAid saumikseri võimsusnäitaja on ehk väiksem kui mõnel teisel turul saada oleval mudelil, on see disainitud tegema ära just need tööd, milleks ta mõeldud on. Nii säästad elektrit!
KitchenAid blenderite valik täna
KitchenAid blenderite valik on viimastel aastatel uuenenud. Edaspidi jääb põhifookus kahele mudeliseeriale Artsan ja PurePower.
KitchenAid Pure Power Blender
Pure Power on tänane algtaseme KitchenAid blender, mis pakub varasemast rohkem võimsust ja kontrolli.
Blenderil on võimas mootor, 10-astmeline kiiruseregulaator ning pulse-funktsioon, mis võimaldab tekstuuri täpselt juhtida. Suur, ligikaudu 2-liitrine kann sobib nii smuutide, suppide kui ka jää purustamiseks. Asümmeetrilised terad tagavad ühtlase segamise kogu kannu ulatuses.
Pure Power on mõeldud kasutajale, kes soovib taskukohast, kuid tugevat ja mitmekülgset blenderit.
Hind Kitchen.eu e-poes:159,99 €
Klassikaline – KitchenAid K150 blender
K150 on endiselt saadaval, kuid tegemist on väljuva mudeliga. See on lihtne ja usaldusväärne blender, millel on kolm kiirust ja jääpurustusfunktsioon. Kannu maht on ligikaudu 1,4 liitrit ning see sobib hästi igapäevaste smuutide ja lihtsamate püreetoitude valmistamiseks.
Võrreldes Pure Poweriga on K150 funktsionaalsus ja võimsus tagasihoidlikum, kuid olemasoleva seadmena täidab see oma rolli hästi.
Hind kitchen.eu e-poes: 269,99 EUR
Parim kaaslane– KitchenAid Artisan K400
Artisan K400 on KitchenAid blenderite universaalne tööloom. See sobib kasutajale, kes valmistab blenderiga regulaarselt erinevaid toite ning ootab stabiilset tulemust ka keerukamate koostisosade puhul. Blendrl on samuti mitmeid lisatarvikud , millega saab valmsada väiskemaid koguseid, mahla või kaasavõtmiseks sobiv ports smuutit või suppi.
K400 pakub mitmeid eelseadistatud programme, head jääpurustusvõimekust ja kvaliteetset konstruktsiooni. See on sobiv valik nii suurematesse peredesse kui ka aktiivsele kodukokale.
Hind kitchen.eu e-poes: 359,99 EUR
Mudelite võrdlus
Mudel
Sobiv kasutajale
Võimsus ja juhtimine
Kannu maht
Programmid ja funktsioonid
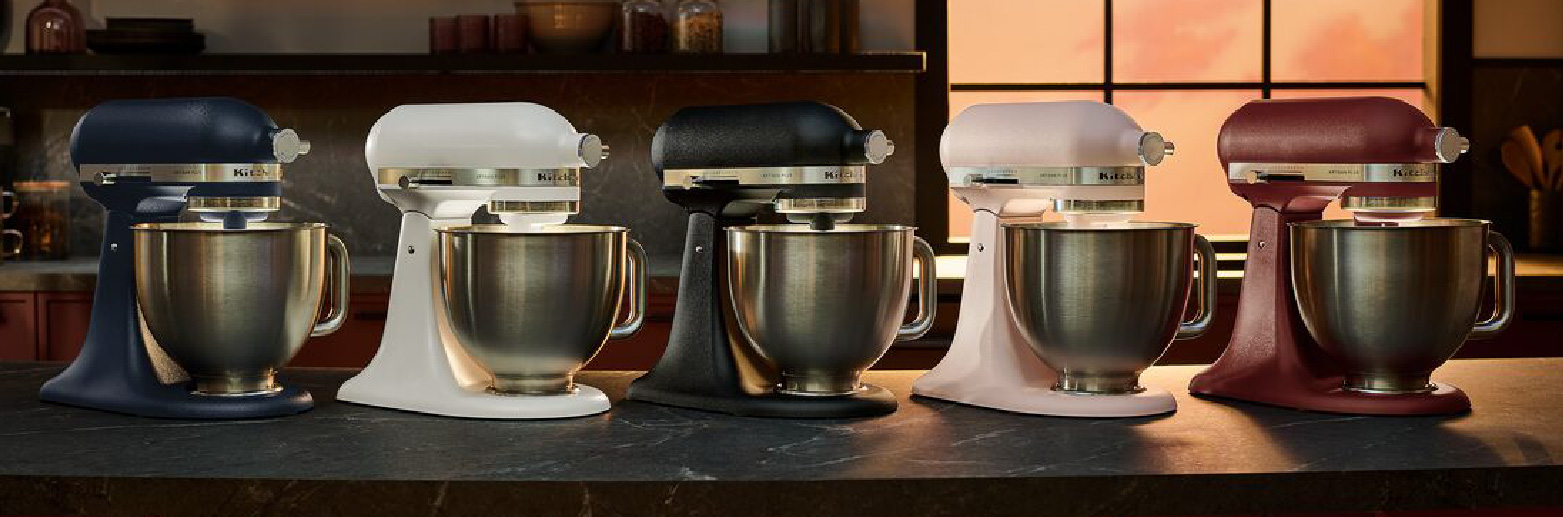
Värvivalikud
Garantii
Pure Power Blender
Igapäevane kodukasutaja, kes soovib head võimsuse ja hinna suhet
Võimas mootor, 10-astmeline kiiruseregulaator, pulse-funktsioon
u 2,0 l
Jääpurustus, täpne kiiruse juhtimine, mitmekülgne kasutus
Mitu kaasaegset värvitooni, sõltuvalt saadavusest
3 aastat
K150 Blender
Lihtsaks ja harvemaks kasutuseks
3 kiirust + jääpurustus
u 1,4 l
Põhifunktsioonid igapäevaseks kasutuseks
Klassikalised KitchenAid värvid
2 aastat
Artisan K400
Aktiivne kodukokk, kes kasutab blenderit sageli ja erinevateks ülesanneteks
Tugev mootor, mitmed eelseadistatud programmid
u 1,4 l
Jääpurustus, automaatprogrammid, stabiilne tulemus
Lai Artisan värvivalik
5 aastat
Kokkuvõte
Kui otsid tänapäevast ja taskukohast KitchenAid blenderit, on Pure Power parim sisseastuja.
Kui soovid maksimaalset mitmekülgsust ja kindlustunnet igapäevases kasutuses, on Artisan K400 kindel valik.
 ET
ET
 LV
LV
 LT
LT
 EN
EN
 FI
FI
 RU
RU
 DE
DE